Status Pages

- Keep your users and employees informed during downtime
- Build customer trust by providing transparency
- Showcase the stability of your web services
- Eliminate duplicate support tickets
Having a status page for your service proves that you take reliability and availability serious and that you have the courage to be transparent whenever an outage occurs.
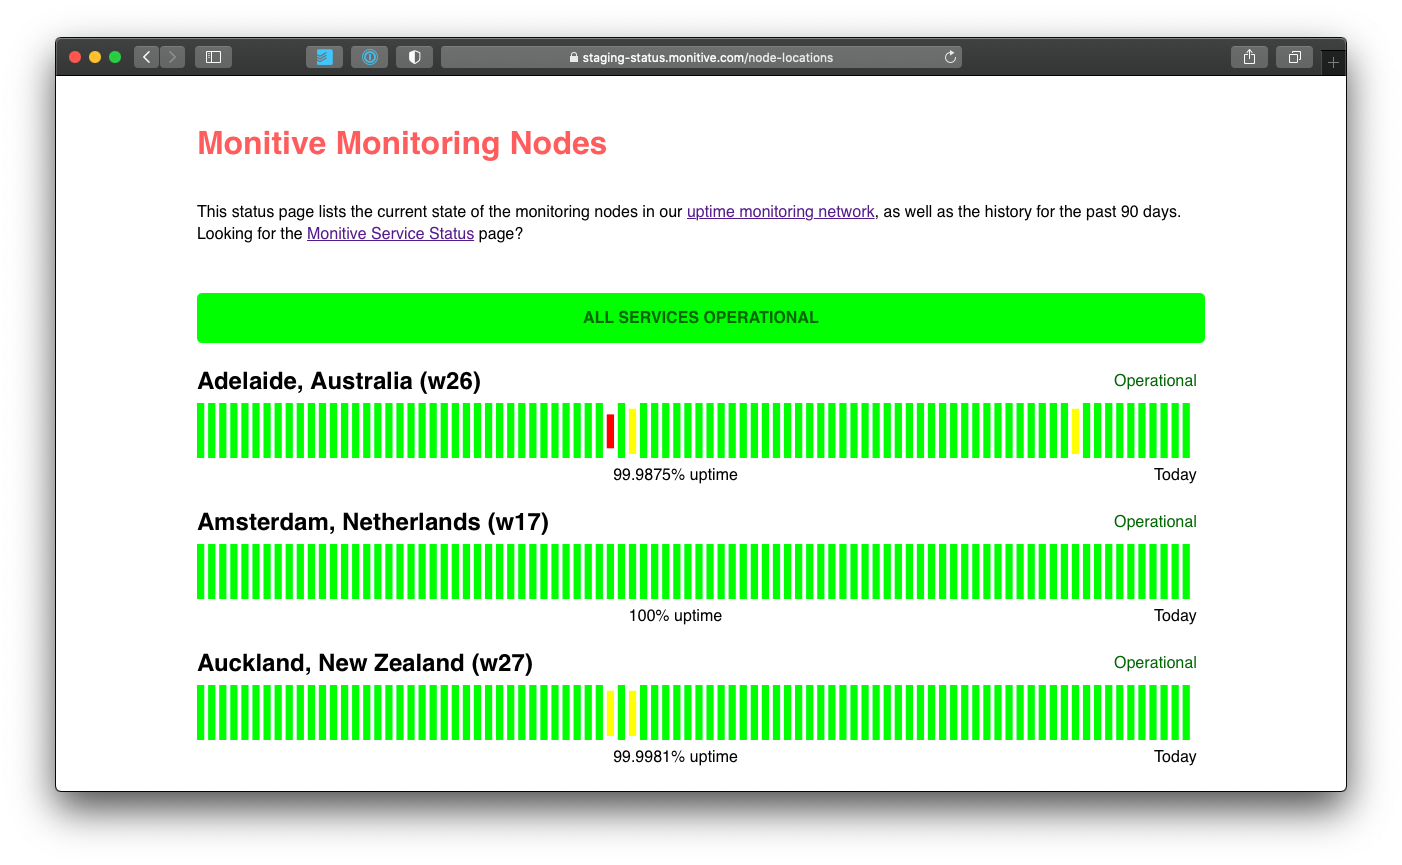
What is a Status Page?
A Status Page is a page that lists specific monitored Internet services, along with their current state and historical uptime for the past period.
As your website might be down, a Status Page is usually hosted with a 3rd party hosting service, and it's usually linked from your website's footer links.
Users are used to look for a status page link in the footer whenever they see that something is wrong with the website they're on.
How do I create a Status Page?
Providing your users with a public Status Page is easy with Monitive. You'll have your Status Page up and running in just a few minutes.
First, go to Account -> Features and open the Status Page feature.
Click Enable in the upper right corner of the window.
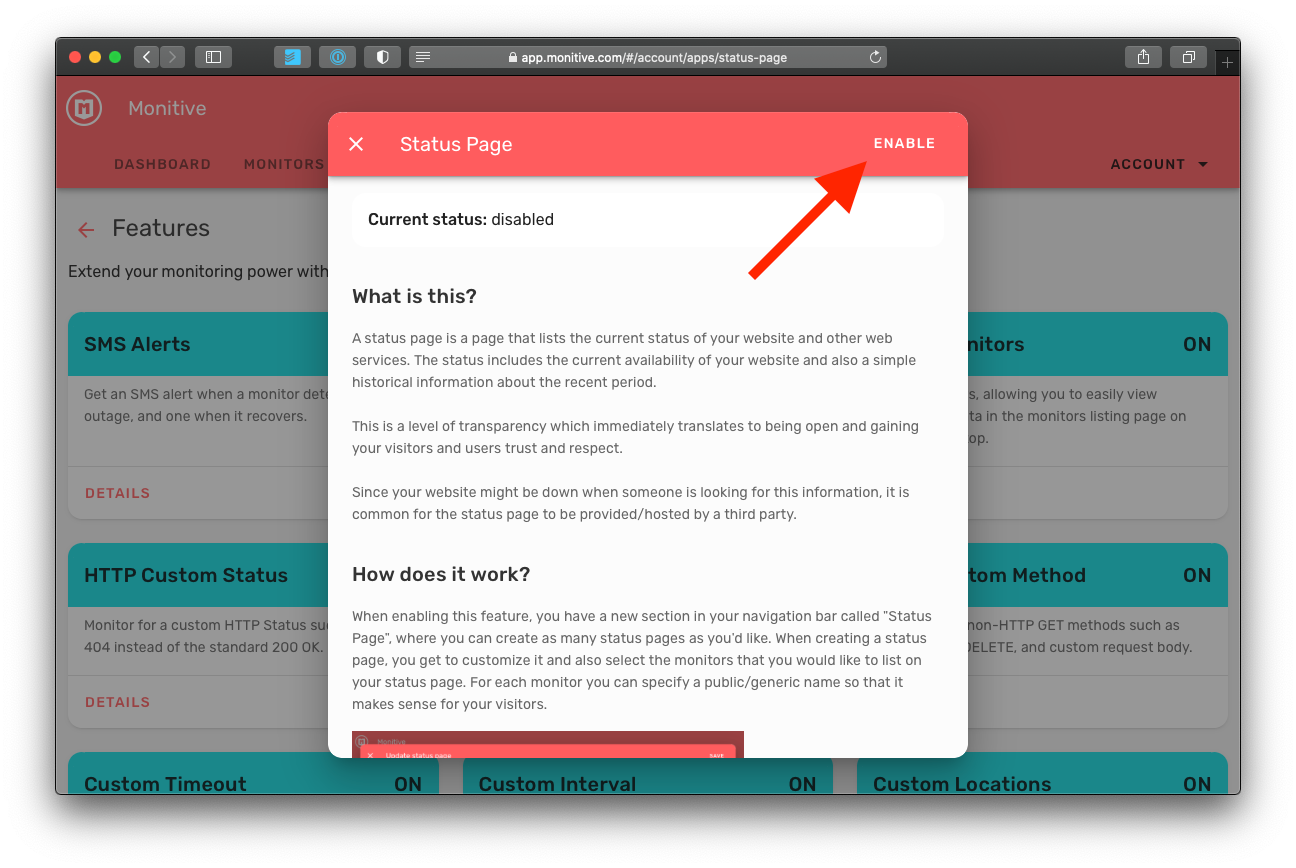
This will enable the Status Page navigation option in your account navigation bar.
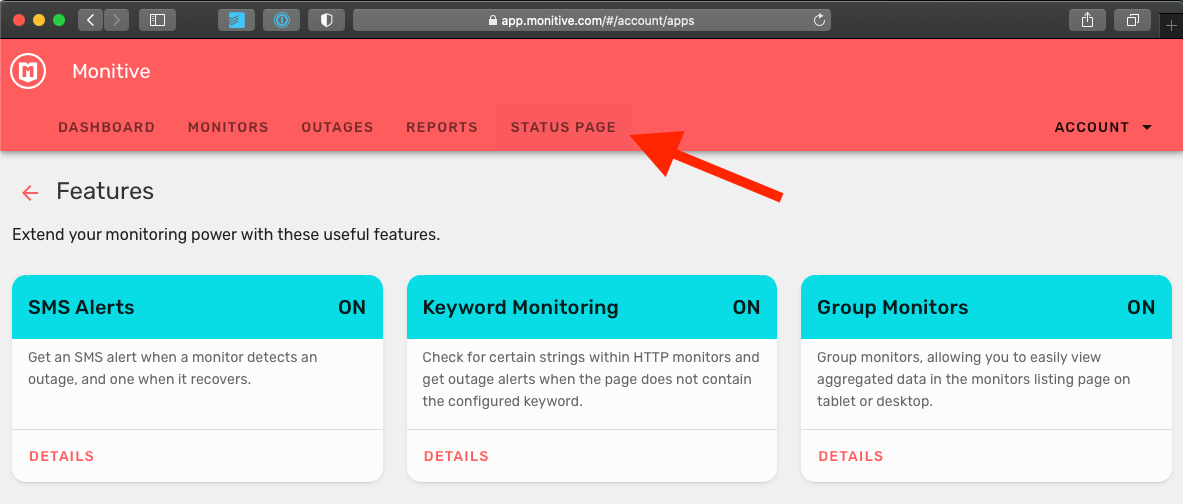
Click the Status Page navigation option, and you'll see the Status Pages list without any status pages added.
Click the + New button to create a new Status Page.
For the Page slug, enter something easy to remember, just words and dashes (for example my-status-page or my-services).
The slug is used to create the Status Page URL where you and your users will see the status of your services.
Further down, make sure you enter a Title for your new page, and optionally a Description. These will be displayed at the top of your page.
The Page Design section is optional, and you can select the colors that match your brand, for a seamless experience when a user lands on your status page.
The final step is to select which Monitors do you want to be displayed on your status page. To select a monitor, tap/click the checkbox next to the desired monitor.
Here you can also optionally change the text that's publicly displayed to your users. To rename a monitor, click the pencil icon next to the checkbox. Remember that the name you give it here is only displayed on the Status Page. You're not actually renaming your monitor.
Here's a sample of how the Status Page setup can look like after the above are done:
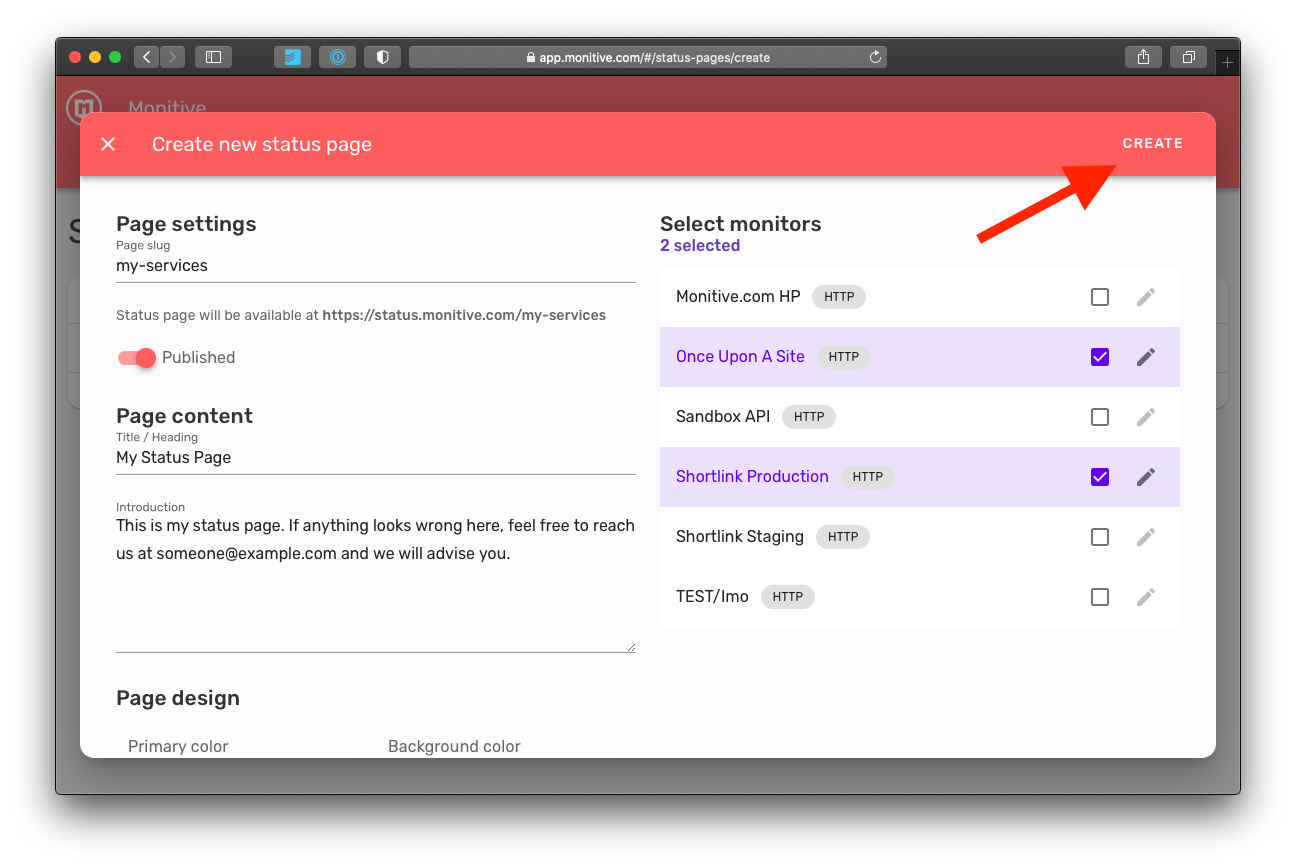
Click Create and you're done.
Feel free to add as many pages as you need. You Status Pages list now shows all the pages you created:
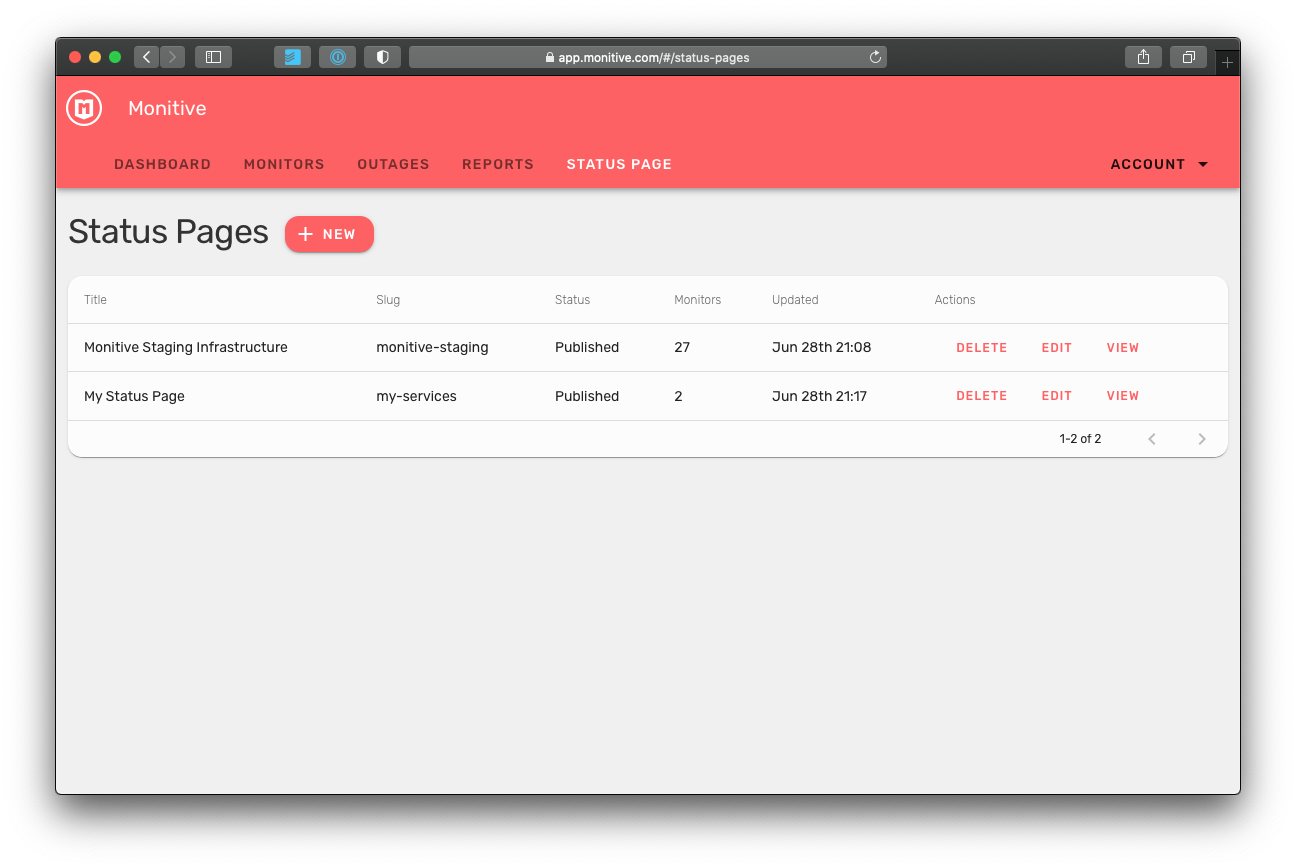
To view a page, click the View button.

Now, you can take the URL from the address bar and add a link to this page in your website's footer.